
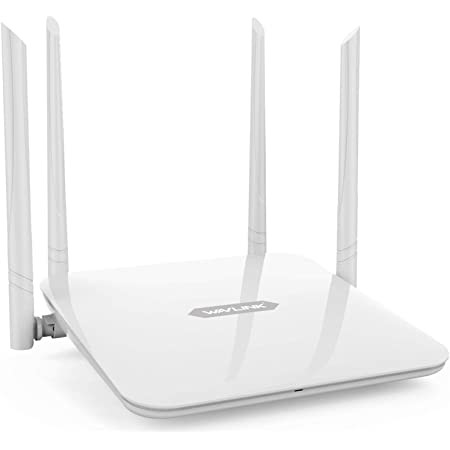
Have you purchased a Wavlink WiFi extender and looking for instructions to configure it? If so, then you have stumbled upon the right page. This piece of writing covers step-by-step instructions to make your Wavlink extender up and running by setting it up. Just ensure to follow the setup instructions in the exact given order, otherwise, you will get stuck with various Wavlink extender issues.
How to Setup Wavlink Extender?
Your Wavlink WiFi range extender can be configured using 2 easy methods. You can either use the manual method or the WPS method to make your Wavlink extender operational. Here, in this piece of writing, we have jotted down both the methods using which you can easily set up your Wavlink extender from the comfort of your home.
Steps to Do Wavlink Extender Setup Manually
Here are the instructions that you can apply to configure your Wavlink extender using the manual method. Here we go!
Step 1: First things first, get your Wavlink extender out of its box carefully.
Step 2: Now, plug in your Wavlink extender into a working wall socket and power it up.
Step 3: Put your hands on the Ethernet cable and use it for connecting your Wavlink range extender and host router.
Step 4: As soon as you are done connecting your devices, open a web browser of your choice on a computer or laptop.
Step 5: Now, input wifi.wavlink.com in the URL field of your internet browser and press the Enter key.
Step 6: Pressing the Enter key will put you on the Wavlink login page.
Step 7: Reaching here, provide the Wavlink extender’s login password into the field and click on the Login button.
Step 8: Doing so will redirect you to the dashboard of your Wavlink extender. Follow the prompts on-screen and complete the Wavlink WiFi extender setup using the manual method.
Wavlink Extender Setup using WPS Method
If you don’t want to use the manual method to configure your Wavlink extender, then you can opt for the WPS method. The WiFi Protected setup aka WPS method is one of the easiest ways to configure your device. For instructions, scroll down a little!
Step 1: Power up your Wavlink extender after placing it near your host router.
Step 2: Locate and press the WPS button on your Wavlink extender.
Step 3: Hold on for some time and then apply the same process on your router as well.
Here’s how you can Wavlink extender setup using the WPS method.
Unable to Complete Wavlink Setup?
If you are unable to complete Wavlink setup process using the manual or the WPS method, then here are some of the topmost fixes that you must implement.
Fix 1: Ensure that your Wavlink extender is receiving steady power. The wall socket in which your extender is plugged must not be damaged.
Fix 2: Your Wavlink extender and your host router must be placed closer and connected in a proper way using either an Ethernet or a wireless source.
Fix 3: The Ethernet cable must be working and firmly connecting your devices.
Fix 4: Place your devices (Wavlink extender and router) at a safe distance if you want to connect them wirelessly.
Fix 5: Do not input wifi.wavlink.com in the search bar field. Apart from this, avoid using the private window to execute the Wavlink setup process.
Fix 6: Be certain your host router is WPS-capable if you want to perform Wavlink extender setup using the WPS method.
Fix 7: Have access to a blazing-fast internet connection and ensure to have access to the correct SSID.
These were the fixes that you can implement in order to troubleshoot the “unable to complete Wavlink setup” issue.
Here’s to hope that this piece of writing helped you complete Wavlink extender setup with ease.